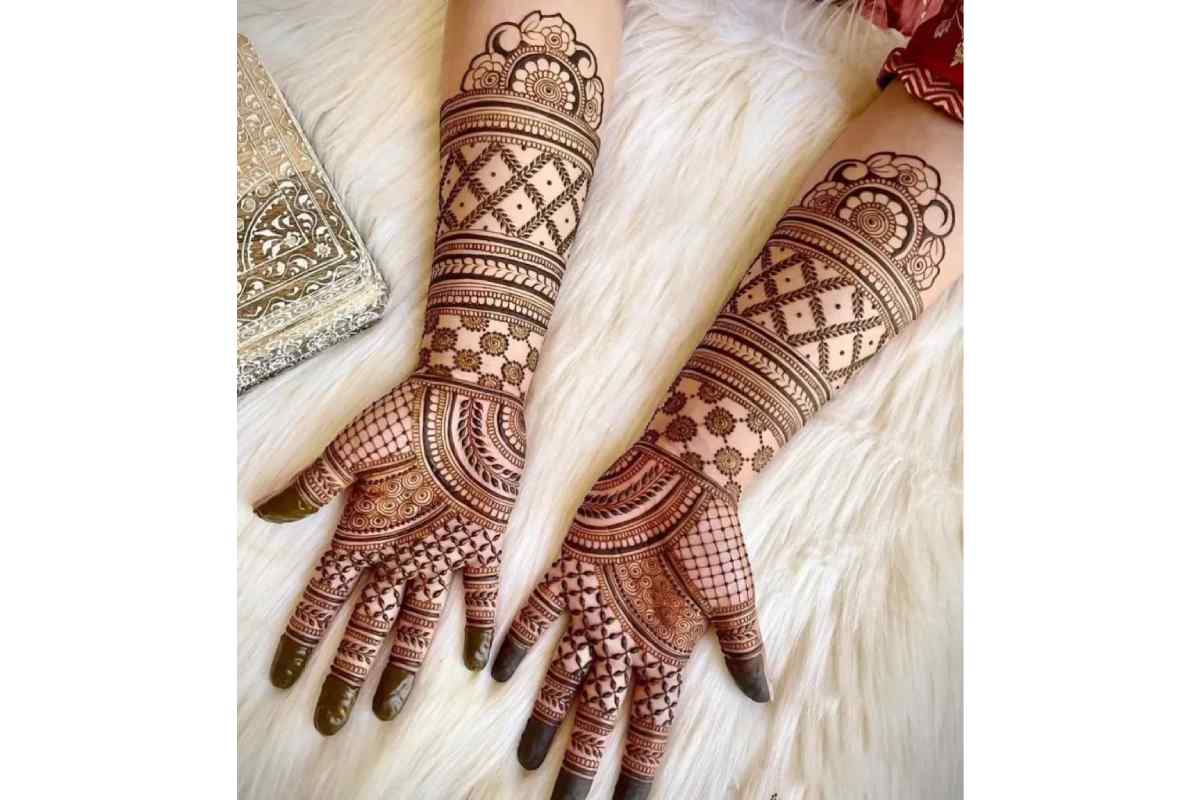
Simple Mehndi Designs for Front-Hand
Mehndi, also known as henna, is a beautiful way to decorate your hands for special occasions or fun. Here’s a guide to creating simple yet stunning mehndi designs for the front of your hands.


Start with Basic Shapes Begin by drawing a large flower in the center of your palm. Make a simple circle and add five or six petals around it. It will be the main focus of your design. From this central flower, draw thin lines that curve toward your fingers, like vines growing in a garden.


Finger Patterns For your fingers, create easy patterns like straight lines down the middle of each finger. Add small dots or tiny leaves on both sides of these lines. You can also make small chains of teardrops or simple zigzag patterns. Leave your thumb for last, as it needs a different angle.


Fill the Spaces Connect the central flower to your wrist with flowing lines. Add small flowers, dots, and leaves along these lines. Remember to leave some empty spaces, making the design look neat and clean. You can fill tiny gaps with small dots or curved lines.
Accessible Elements to Include:
- Small flowers with 5 petals
- Dots in different sizes
- Simple leaves
- Curved lines
- Basic geometric shapes like circles and diamonds
- Heart shapes
- Butterflies made from simple curves
Tips for Application:
- Keep your hand flat and steady
- Use ready-made henna cones for better control
- Start from the center and work your way out
- Don’t rush – take your time with each pattern
- Keep tissue paper nearby to wipe any mistakes
This design is perfect for beginners and looks lovely for any occasion, from festivals to small celebrations. The best part is that you don’t need advanced skills to create this beautiful pattern. With a bit of practice, you can make this elegant design easily!


